How Do Electric Tugger Operate? Top 3 User-Friendly AGVs
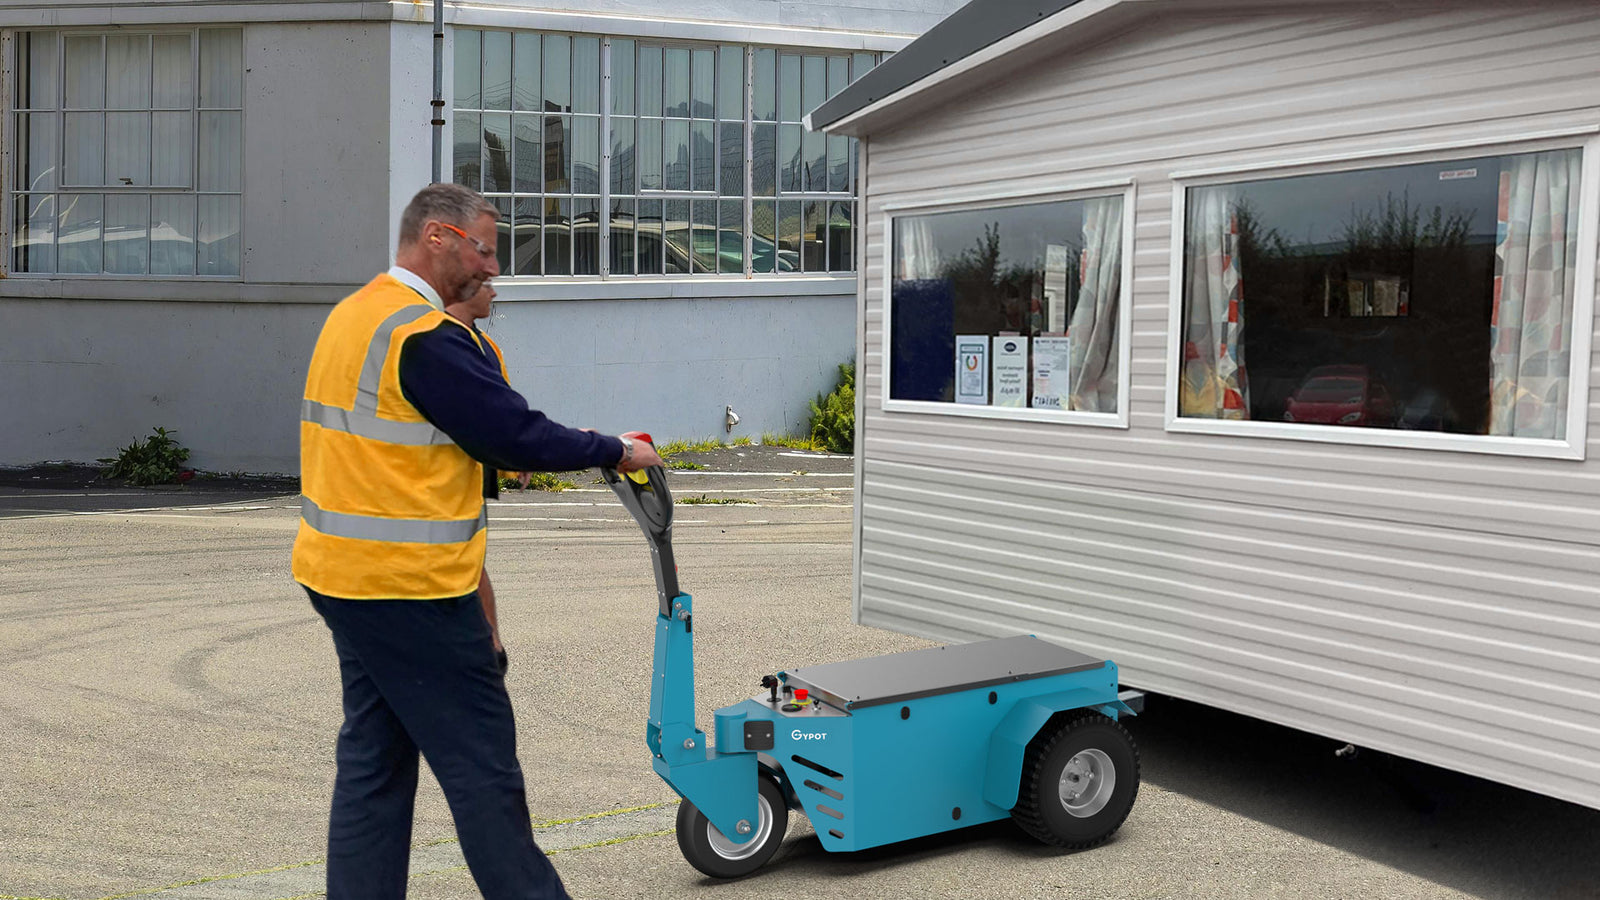
1.Electric Tugger Safety Checks
Battery Inspection
Before starting any operation with your electric tugger make sure your battery is charged to an allowed level. Most models of tuggers have a clear digital display of battery percentage. A completely charged battery should be present between 95 to 100%. Streamline the charging operation to facilitate the maintenance of power above 75 to have smooth operations without disturbances.
Tire and Brake System Inspection
Check the conditions of the tugs’ tires. Worn-out or damaged tires could impair performance. Check the condition of the tires as well as their tread depth. There is a standard for the minimum levels of depth. Tires below 3mm of depth are inappropriate since they may not provide the best grips hence the required safety. Test the Brakes on the system by taking a quick and practical run on the apparatus at a low speed range. Test whether the brakes may engage firmly without delay. They should not have weird noises.
Safety Devices Verification
Check test and verify the situation with all safety devices. All stop buttons for emergency describing need thorough testing. The lights and signals should be inspected to see if they are working effectively. They can improve safety and visibility during operations.
2.Connecting the Load
Proper alignment and attachment.
Start by aligning the electric tugger exactly in front fo the load. This will be ensuring that the tugger’s attachment mechanism is exactly layer with the load’s coupling area. Make sure to do this as a misalignment of one or the mechanism can be hazardous to the safety of the operation. Most tuggers have a visual guide indicating the optimal place, and some have a physical alignment guide.
Securing the connection.
After aligning the operation mechanism, make sure to put attach it with the load’s transfer mechanism. Most tuggers do this with either a locking pin or a hydraulic arm. Make sure that the lock is fully secured and in place. Make specifically sure by trying to tug gently on the load. This will ensure that once the vehicle is in motion, the load will not detach prematurely.
Safety checks post attachment.
After making sure that the load is completely attached, make sure to check that all facilities are in place. Check for any gaps between the operation and load area, as well as make sure that the load is secured firmly. Finish with gentle shaking of the load to ensure that it will not fall when the vehicle will start moving.

3.Operating the Controller
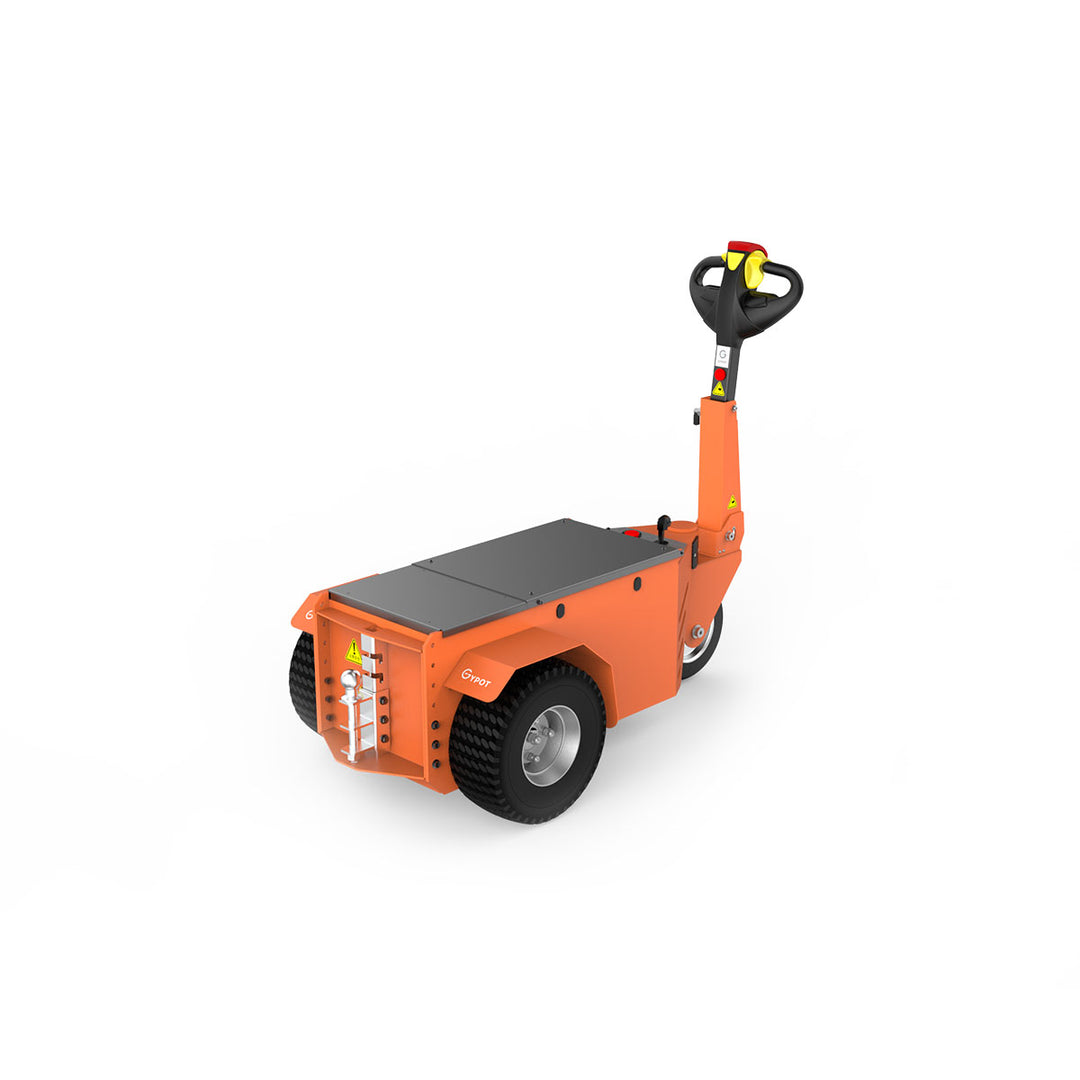
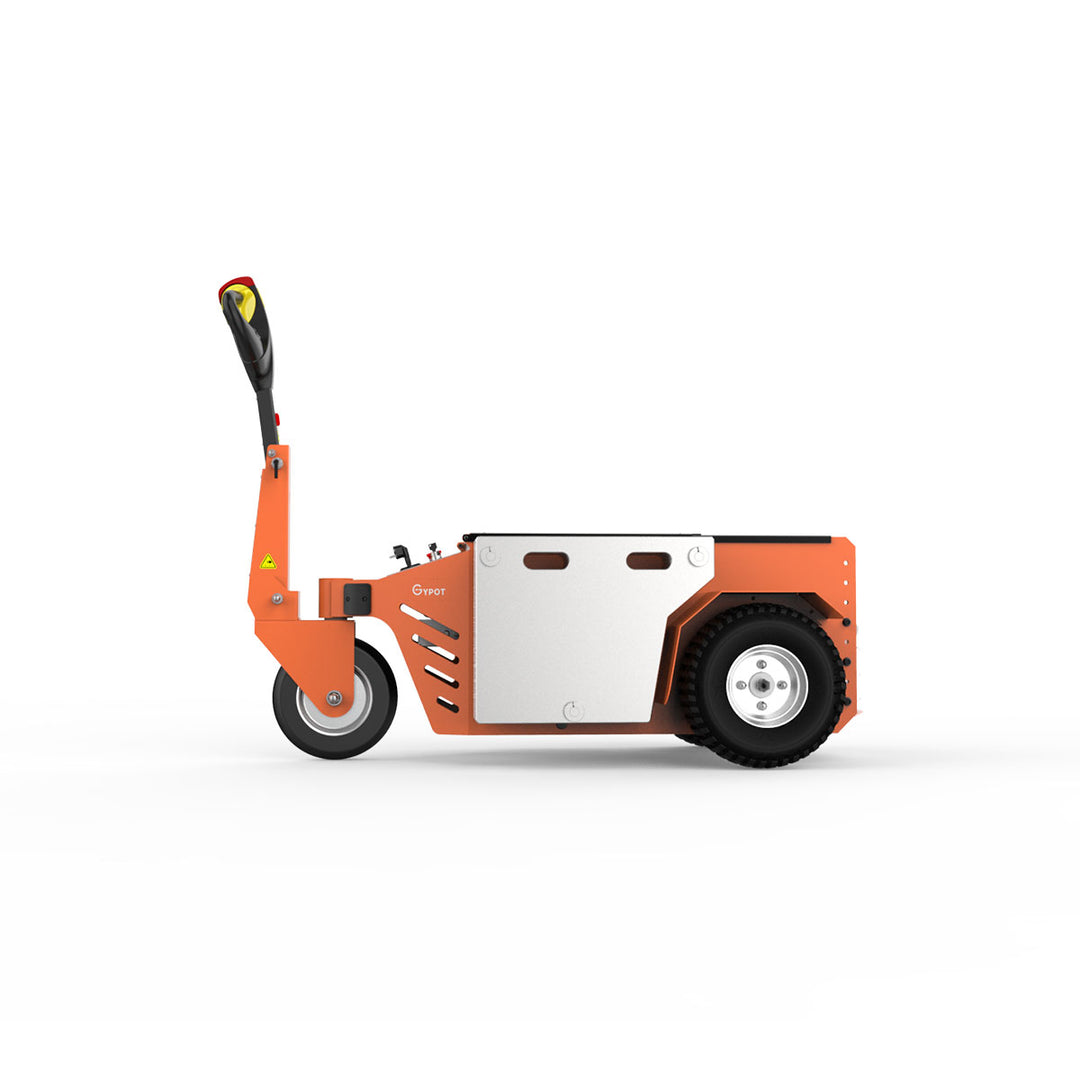
The control handle of a walk-behind electric tugger is the main interface any user has with the vehicle. It includes drive controls and a brake system that allows the tugger to stop. Before operating a vehicle, it is important to examine the layout, understand the location of all the elements, and know how they work. Normally, there is a throttle used to direct the tugger forward or backward, as well as and brake button or lever that immediately stops the vehicle.
Drive Controls
Take the throttle, and gently push or pull it in the direction you want the tugger to move – forward or backward. The tugger should begin moving immediately. Some types of tuggers have speed settings, depending on the load and other environments. To learn how responsive the tugger is with the current load, always let it start from the slowest speed setting.
Brake Control
Stopping is just as simple – when you need the tugger to stop, immediately push down the brake button. The vehicle should stop relatively immediately, and the load should not block the process. It is advisable to test the brake system before starting the works, and on subsequent periods before an operation begins to ensure the safety and reliable performance by the system.
Additional Feature
Some tuggers also have one or two extra features, such as a horn or a set of lights, which you can control from the same handle and use them as often as needed to alert pedestrians about the vehicle or to have the tugger seen in the darkness. Make up effective use of them all.

4.Movement and Steering
Starting and following the Tugger
Initiate the movement of the electric tugger and follow its path. The recommended position should be behind or at the side of the tugger. Move at a speed that allows you to remain in control. The tugger’s handle has controls that facilitate the movement of the tugger to the left or right side. The choice of direction depends on the availability of the path and the destination.
Awareness during movement
Observes the environment during movement to ensure you are aware of the situation around you. Stop immediately when encountering obstacles and rough surfaces. Also, remain at a safer distance where you can avoid collisions or knocking other staff. Appropriate safety measures should be maintained during the loading and offloading process.
Adjusting the speed and directions
When you experience a congested space, it is advisable to reduce the speed to allow for swift changes of the directions while moving. Move the tugger at a straightforward angle for better balance of the load. The movement has to be smooth to prevent increased pressure that might cause the load to slide off the traps. It ensures you have regular check criteria to control any loading movement of the traps.

5.Stopping and Disconnecting
Operation of an Electric Tugger
Press down on the accelerator bungee to start the tugger motor and pick up speed as needed. Use the control system on the handle to guide the direction of the electric tugger, and adjust the speed as necessary to properly move the load. Steering can be done by tilting the handle in the direction it is supposed to go. Move the load to its desired location.
Releasing the Load
To discontinue the operation of the tugger, return the handle to its neutral position, and remove foot pressure from the bungee. Raise the handle to its upright position to put the load down, then slowly bring the handle back to its resting position. Ensure that the tugger is stationary before before disengaging the docking system and removing the tugger. To release the load from the tugger, use the handle to reverse the steps used to initiate the connection. If for instance, we used a pin to connect the stalk to the tugger, we detach the connection by removing the pin. Ensure that the connection is completely disentangled to avoid accidents as the tugger is released from the system.
Parking of the Tugger and Setting down the Load
Once the connection has been disentangled, park the tugger and set down the load. The load should be securely placed and should not be on an incline such that it can roll away. The tugger should be placed in a designated parking area or docking area to recharge. The two systems, the tugger and the load, should always be securely placed and prepared for any other operation.

6.Shutdown and Charging
Securing the Tugger
All tugging actions are complete. After using the electric tugger to carry out the actions, the first step would be to ensure that it is in a complete stop state. You need to make sure that you activate the parking brake, putting a hold on the mobility of the tugging machine. This phase is essential to prevent the tugger from moving between sessions.
Connecting to a Charging Station
You then need to take the electric machine to the next destination – the charging station. Once there, you need first –connect the charging cable to the slot in the electric tugger. The piece needs to fit tightly and securely, so ensure that the tugger is perfectly connected to the electricity source. Then make sure such as a light or a sound that the charging station is active.
Checking the Charging
The tugger will most likely have an indicator that shows the progress of charging the battery. Ensure to actively watch the progress of the battery’s metrics when the tugging machine is charging. This step is essential as doing it when already leaving would be catastrophically late – all tugging systems need cohesion. Doing all the connections will naturally lead the tugger to start charging, so ensure that it is doing so before moving onto other activities. Right now, we also prepare the tugging machine for the next phase of use – while the machine is charging, we may briefly evaluate it to find visible issues. Doing so is vital as leaving issues unfixed between uses can doom the electric tugger for later use.
Top 3 User-Friendly AGVs
Automated Guided Vehicles (AGVs) are transforming the landscape of industrial transport with their ability to automate and simplify the movement of heavy loads. Here, we explore three standout models that combine ease of use with powerful capabilities, perfect for various industrial applications.
1.NBT30 Electric Tugger


